
DIY CHRISTMAS
December 16, 2016
As the holidays are fast approaching, last minute preparation is a go. Parties being thrown left and right filled with holiday wear and last minute gifts are struggling to be bought or made. The nerves are rising up and you’re constantly overwhelmed. In order to calm your nerves, here’s how to destress with this DIY Christmas.
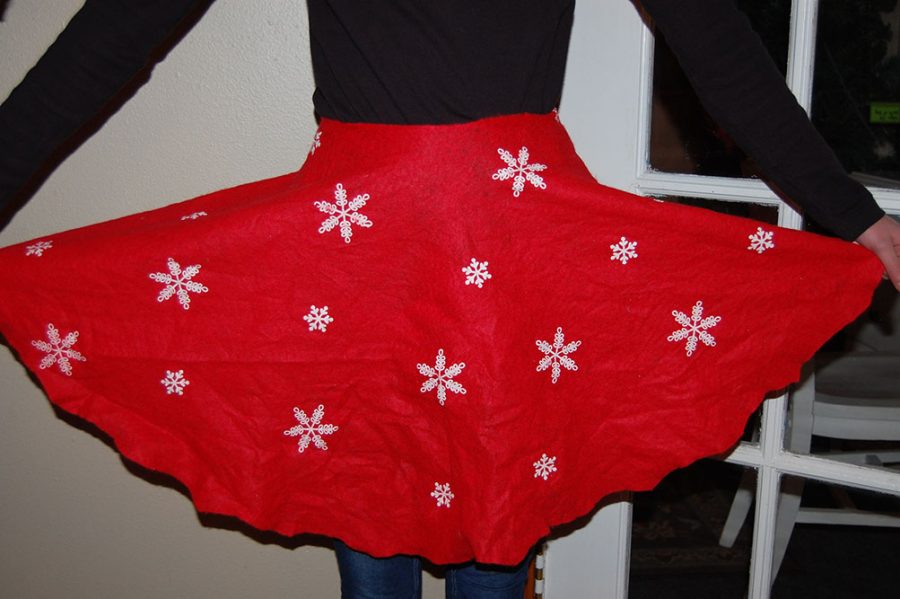
Skirt:
- Tree Skirt (most likely a solid color- $4.99 – Walmart)
- Felt ($1.00 – Dollar Tree)
- Fabric Glue ($1-3 – Walmart)
Holiday Sweater:
- Green or Red Sweater ($2.99 – Goodwill)
- Felt ($1.00 – Dollar Tree)
- Tinsel ($3.99-5.99 – Walmart)
- Ornaments ($2.99-5.99 – Walmart)
Snowglobes:
- Baby Food Jar (empty and washed).
- Plastic Figurine (penguin, Santa, etc.)
- Glycerin (optional).
- Glitter (red and green or whatever color)
- Water
- Glue (hot glue gun works best but superglue should work too)
- Decide what you’d like to put in your snowglobe.
- Glue, place, and stick your plastic figurine inside the jar lid.
- Fill your jar with water and/or glycerin and add glitter (1-2 teaspoons).
- Screw on the lid or glue it shut.
- Shake it up and flip it over and watch it sparkle!
Bath Bombs:
- 1 cup baking soda
- ½ cup citric acid (don’t panic, you can find this in the canning section of your grocery store or order it from Amazon!)
- 10 drops of essential oils (best is Young living but if you can’t find that, there’s substitutes)
- ½ tablespoons carrier oil (such as Jojoa, Almond, Grapeseed, or even Olive Oil)
- Spray bottle of water
- Silicone mold or muffin tin
- In a medium bowl, mix together the baking soda and citric acid. You can strain them through a sieve for a finer consistency if desired.
- In a small bowl, stir together your carrier oil and essential oil. Add to the medium bowl of powders and stir until well mixed. Add mica powder for coloring if desired.
- Using a spray bottle of water, mist the surface until slightly damp. Mix until the consistency of slightly wet sand—it should clump together when pressed. DO NOT OVER SATURATE!! If it’s too wet it WILL fall apart when you are taking it out of the molds.
- Pack into molds. You can use a silicone mold for smaller shapes or a muffin tin for bigger ‘pucks’. Be sure to add the mixture to the top of the mold and really pack it in there.
- Cover mold with a paper towel, and carefully turn upside down over a baking sheet covered in another paper towel. Gently tap the bottom of the mold if needed, and unmold the bath bombs. Cover with paper towels and let dry overnight.
- Package in an airtight container or bag so that your DIY bath bombs don’t lose their fizz, and enjoy!